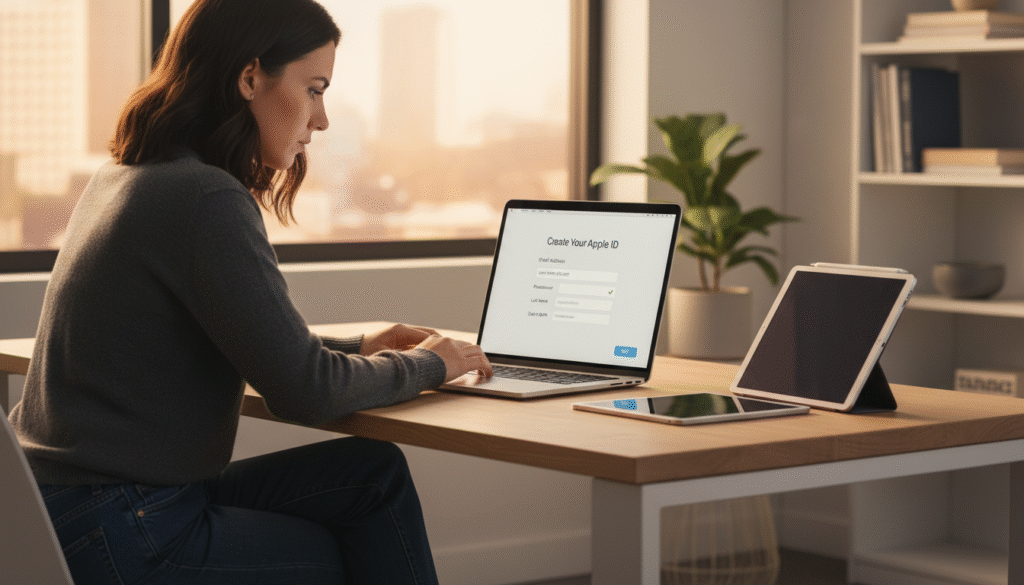
Set up an Apple Account fast and get your device ready for apps, backups, and secure services. This short guide shows the simplest path for the device in your hands. You’ll see each step laid out so you don’t waste time guessing which option to tap.
If you are in Bangalore, local details matter. Pick the right region during setup so payments, language, and local services work without friction. If a broken screen, bad battery, or a faulty charging port blocks verification, consider iFix India. They offer walk-in service, doorstep fixes for minor repairs, and pickup & drop for complex jobs.
You’ll learn the full process—from what you enter and what Apple verifies to quick fixes when something fails. Follow this method and gather needed information up front so you finish the setup in one go, whether you use an iPhone, iPad, Mac, Windows PC, or a web browser.
Key Takeaways
- Get a clear step flow so setup finishes quickly.
- Know what info Apple checks before you begin.
- Choose India/Bangalore region settings for best results.
- Use iFix India for hardware problems that block setup.
- Pick the right method for your device and save time.
Apple ID vs Apple Account: What You’re Creating and Why It Matters
Apple renamed Apple ID as Apple Account, but the sign process you use remains the same. You still sign with your email or phone and the same password. That single account links across your devices and web access.

What a single account unlocks
You get access to the App Store, iCloud backups, and media subscriptions with one sign. Your purchases and subscriptions stay tied to the same account across an iPhone, iPad, Mac, and Windows apps.
Where you manage settings
If you lack a device, visit account.apple.com or iCloud.com for settings and data. Trusted devices handle verification codes so day‑to‑day sign ins are smooth.
- One account equals access across multiple devices.
- Purchases and services follow that single sign.
- Account management is available on the web when needed.
| Area | Single Account | Device Role |
|---|---|---|
| App purchases | Linked and shared | Installs and updates |
| iCloud backup | Central backup | Stores device data |
| Verification | Codes sent to trusted devices | Needed for secure sign |
Before You Start: What You Need to Create an Apple Account Successfully
Before you tap through setup, gather the key items that keep setup quick and error-free.

A reliable email address is required. You can use an existing email or pick the option for a free @iCloud.com address. Make sure you can open that inbox immediately for verification codes.
A phone you can access
Choose a phone number you always control. Apple sends verification and recovery codes to that number. Losing access can lock you out, so use a number you keep current.
Region and local settings
Set your country or region to India. That choice affects store items, payment methods, and local services. Check your billing address and regional settings before you finish.
Password and security
Your password must be strong and memorable. Use a mix of letters, digits, and symbols. Store the password safely and enable two-factor authentication during setup or later.
Payment and billing information
Apple may ask for payment details. You can often select None until you buy something. Billing information is optional in many flows and you won’t be charged without a purchase.
| Item | Why it matters | Quick tip |
|---|---|---|
| Email address | Receives verification and account mail | Confirm inbox access first |
| Phone number | Used for codes and recovery | Use a number you keep long-term |
| Region settings | Controls store, apps, payment options | Pick India for local availability |
| Password | Secures your account | Use a password manager |
Final tip: double-check your email address phone number pair before you submit. A single typo can stop verification codes from arriving and delay setup.
How to create apple id on iPhone, iPad, Mac, Windows, and the Web
Start where you are: settings on mobile, System Settings on Mac, or account.apple.com on the web. Each method leads you through the same verification screens for name, birthday, email, and region.
Create your Apple Account in iPhone or iPad Settings
Open Settings, then choose the sign‑in area. Pick “Forgot password or don’t have an account?” then “Create a Free Apple Account.” Enter birthday and name, add an email (or get a free iCloud address). Verify email, set a strong password, and enable two‑factor authentication.
Create your account from the App Store (if you can’t see the option)
Open the App Store, tap the account button and choose “Create New Apple Account.” If the link is missing, sign out of iCloud first. Select payment (or None) and confirm your phone number.
Create an Apple Account on Mac, Windows, or the web
On Mac: System Settings > Sign in > “Don’t Have an Account?” Follow prompts. On Windows: use Apple Music or Apple TV app > Sign In > Create New Account. On the web: go to account.apple.com and complete the fields shown.
| Method | Where | Key steps | Payment option |
|---|---|---|---|
| Mobile Settings | iPhone / iPad Settings | Birthday, name, email, verify | None or add later |
| App Store | App Store app | Account button, sign out if needed | Choose None if available |
| Mac & Windows | System Settings / Apple apps | Sign in area, follow prompts | None or add card |
| Web | account.apple.com | Enter email, password, region, verify | Manage later |
Verification, Two-Factor Authentication, and Signing In on Your Devices
A quick verification step ties your contact details to your account and unlocks device access.
Confirming email and phone
After you enter an email address and phone, Apple sends a short verification code by message or email.
Enter that six‑digit code when prompted. That single action verifies both contact points and completes setup for most devices.
Two‑factor basics and trusted devices
Two‑factor authentication adds an extra layer of security. A trusted apple device receives a one‑time code during sign.
Keep at least one phone number and one signed‑in device you control. If you change SIMs, make sure the phone number used for verification stays reachable.
Signing in across iPhone, iPad, Mac, Windows and the web
Sign using your email or phone plus password, then enter the verification code shown on a trusted device or sent by message.
If a sign attempt keeps spinning, check Apple System Status and try another network or wait a few minutes before retrying.
Using another device and why Bluetooth matters
The “Use Another Apple Device” flow lets a nearby device share a code via Bluetooth. Turn on Bluetooth on both devices and keep them close.
This is faster than a text and often solves cases where SMS delivery is delayed.
- Quick tip: know where your verification code will arrive before you start signing in.
- Keep trusted devices updated so codes arrive without delay.
| Action | Where the code arrives | Fix if it fails |
|---|---|---|
| Verify email | Email inbox | Resend code or check spam |
| Verify phone | SMS or message | Switch network or use trusted device |
| Use another device | Nearby apple device | Enable Bluetooth and retry |
Troubleshooting: If You Can’t Create or Access Your Apple Account
If setup stalls or you get an error, follow simple checks that resolve most cases fast.
If your email address is already used: choose the Forgot password path. That option recovers access rather than making a duplicate account. Enter the correct inbox and request a verification code by message or email.
If you see “your account cannot be created at this time”: try a different method — Settings, the App Store, or the web. Also switch networks and try again after a few minutes.
If you hit “maximum number of free accounts have been activated”: this limit ties to that device. Use the web option or another device to finish setup.
If sign‑in keeps spinning or won’t connect: check Wi‑Fi versus mobile data. Visit Apple System Status for outages before repeating attempts.
If your account is locked, disabled, or not active: follow Apple’s account recovery prompts. Expect verification codes by message or email and complete any follow on-screen steps.
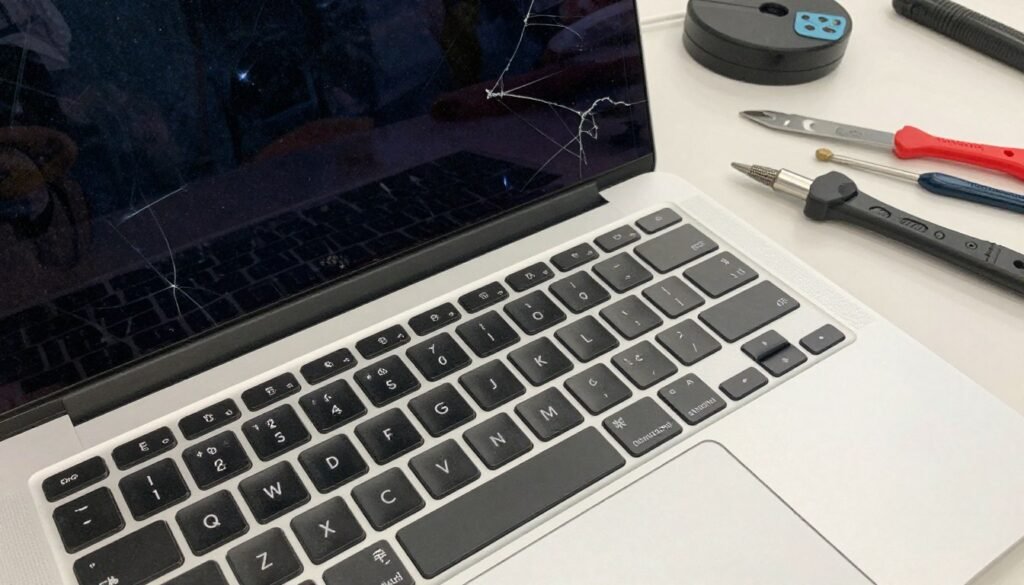
If hardware blocks verification — a broken screen, dead battery, or damaged charging port — get device repair in Bangalore. iFix India (ifixindia.in) offers walk‑ins, doorstep fixes for small jobs, and pickup & drop for complex motherboard work. They also repair Windows laptops and other smartphones so your backup device can receive codes and messages.
| Issue | Quick fix | When to get repair or support |
|---|---|---|
| email address already used | Use Forgot password; request code | Only if inbox is inaccessible |
| account cannot be created | Try Settings, App Store, or web; retry later | Check network or system status |
| maximum free accounts | Use web method or another device | Device limit reached |
| spinning sign‑in | Switch network; check Apple System Status | Possible outage or weak signal |
| locked or disabled account | Follow recovery flow; enter verification code | Contact Apple support if recovery fails |
Conclusion
Conclusion
Quick checklist: have an email, a phone number, set region to India, pick a strong password, and keep verification access ready. This helps you create apple account faster and without repeat attempts.
Pick the fastest path for your device: Settings, the App Store, Mac System Settings, Windows apps, or the web. Use the route that saves you the most time in that moment.
Verification and two‑factor protect your account and keep services working across devices. Once signed in, you can open apple services like the App Store and iCloud and switch devices without surprises.
If errors block setup, try another method, check Apple System Status, and confirm details carefully. For hardware issues that stop verification—battery, screen, charging port, or logic board—consider local repair. iFix India (ifixindia.in) in Bangalore offers walk‑in, doorstep for minor fixes, and pickup & drop for complex repairs so you can get back online quickly.

About The Author: Imran
More posts by imran