
Introduction
In today’s digital age, smartphones have become an essential part of our daily lives. However, one common issue that many iPhone users face is a cracked screen. The cost of iPhone screen replacement can be expensive, but with the right tools and knowledge, you can fix it yourself. This ultimate guide will provide you with step-by-step instructions on how to replace your cracked iPhone screen at home using a DIY repair kit. Learn when to call a professional and how to avoid common mistakes while fixing your iPhone screen. Don’t let a cracked screen interfere with your daily tasks – read on to learn more!
1.Prevalence of cracked iPhone screens
2.DIY repair vs. professional repair considerations
3.Tools and Materials Required
4.Step-by-Step DIY Repair Guide
5.Safety Precautions
6.Turning off the iPhone and disconnecting the battery
7.Heating the screen
8.Removing broken glass shards carefully
9.Cleaning the frame
10.Applying a replacement screen
11.Reconnecting components and powering on the iPhone
12.Warning Signs to Seek Professional Help:
13.Cracked screen accompanied by LCD damage (flickering, discoloration)
14.Difficulty using the touchscreen due to cracks
15.Internal damage concerns (due to impact or water exposure)
16.Conclusion:
17.Recap of DIY repair process
18.Importance of professional help for complex repairs
19.why consider ifix india for your cracked iphone screen replacement or fix?
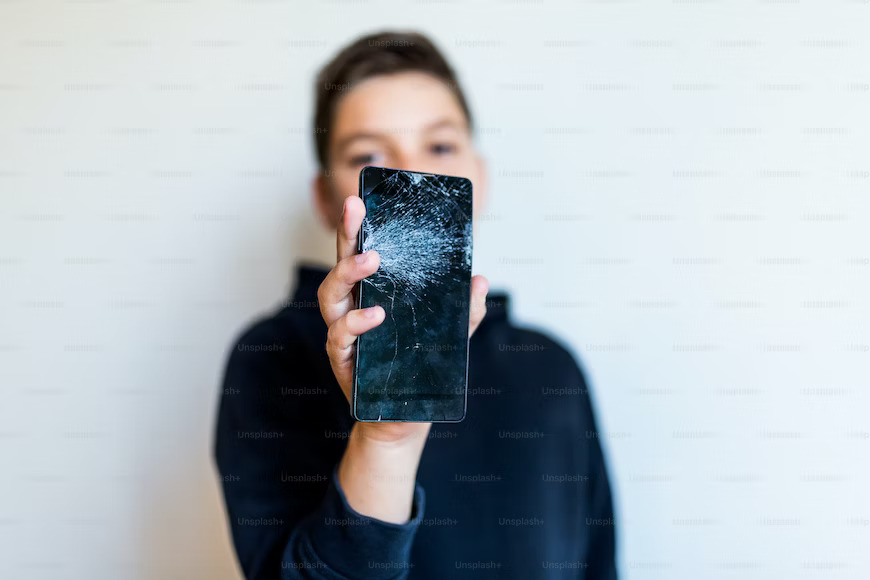
Prevalence of cracked iPhone screens
Statistics show that cracked iPhone screens are a common occurrence among smartphone users. A study revealed that more than 50% of iPhone users have experienced a cracked screen at some point. The fragility of smartphone screens, coupled with our on-the-go lifestyle, makes it more susceptible to damages. Understanding the prevalence of cracked screens can empower you to learn the necessary repair skills, either by yourself or by seeking professional help. Stay tuned as we delve deeper into the factors contributing to cracked iPhone screens and how you can effectively address this issue. Remember, a cracked screen shouldn’t hinder your productivity – let’s explore practical solutions together.
DIY repair vs. professional repair considerations
When it comes to fixing a cracked iPhone screen, you’ll need to weigh the pros and cons of DIY repair versus seeking professional assistance. DIY repair can be cost-effective and empowering if you have the necessary skills and tools. However, if you’re unsure about your technical abilities or the extent of the damage, it may be wise to consult a professional. Factors such as warranty coverage, time constraints, and the complexity of the repair should also be taken into account. In the upcoming sections, we will discuss how to assess these factors and make an informed decision on whether to tackle the repair yourself or leave it to the experts. Stay tuned for valuable insights!
Tools and Materials Required
Before embarking on fixing a cracked iPhone screen yourself, make sure you have the necessary tools and materials. This may include a screen repair kit, a heat gun or hairdryer, a suction cup, a spudger tool, a screwdriver set, adhesive strips, and a cleaning cloth. Ensure you are working in a well-lit and clean environment to prevent any further damage to your device. In the following section, we will guide you through the step-by-step process of repairing a cracked iPhone screen at home. Be prepared and equipped with these essentials to successfully tackle the repair. Let’s get started!
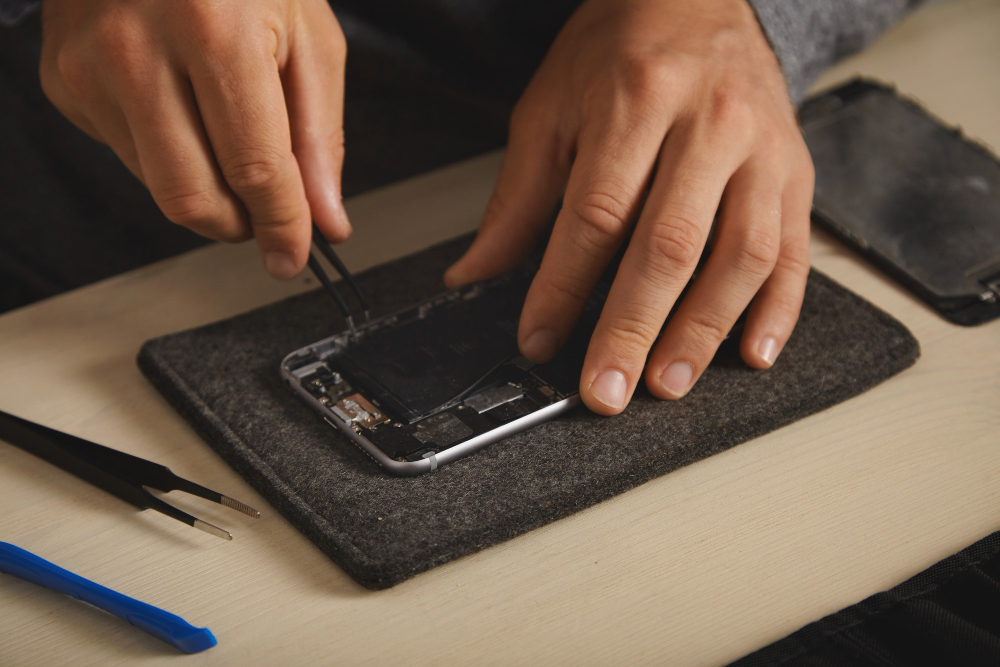
Step-by-Step DIY Repair Guide
Now that you have gathered your tools and set up your workspace, let’s dive into the actual repair process. Begin by powering off your iPhone and removing any existing screen protectors or cases. Use the heat gun or hairdryer to warm the edges of the cracked screen, making it easier to lift off. Carefully insert the spudger tool between the screen and the body of the phone, and gently pry the screen off. Be mindful of any cables that may still be attached. Next, disconnect these cables and remove the damaged screen completely. Stay tuned for our detailed instructions and visual aids on how to install the new screen in the upcoming section.
Safety Precautions
Before proceeding with the repair, it is crucial to prioritize safety to avoid mishaps or further damage to your device. Ensure your workspace is well-ventilated and free from any flammable materials. Remember to wear protective gear such as gloves and safety glasses to prevent any injuries during the repair process. Additionally, keep track of all screws and small components to avoid losing them. Always work on a stable and flat surface to prevent your iPhone from sliding or falling during the repair. By adhering to these safety precautions, you can successfully repair your cracked iPhone screen while minimizing risks. Stay tuned for the next section on installing the new screen.
Turning off the iPhone and disconnecting the battery
Turning off the iPhone is the next crucial step before attempting the repair. To do so, press and hold the power button until the “Slide to power off” option appears on the screen. Once the device is powered off, it’s recommended to disconnect the battery if you’re comfortable doing so. This extra precaution can prevent any electrical mishaps during the repair process. If you’re unsure about disconnecting the battery, it’s best to skip this step and proceed with caution. Stay tuned for the next section on safely removing the cracked screen and preparing your iPhone for the new replacement.
Heating the screen
Heating the cracked screen is a crucial step in safely removing it from your iPhone. There are several methods to achieve this, such as using a hairdryer on low heat or a heat gun on a low setting. Apply the heat evenly along the edges of the screen for about 1-2 minutes to soften the adhesive underneath. Be cautious not to overheat the device to avoid damaging the internal components. This process will make it easier to pry off the cracked screen without causing further damage. Stay tuned for the upcoming section on the proper tools and techniques for safely removing the cracked screen from your iPhone.
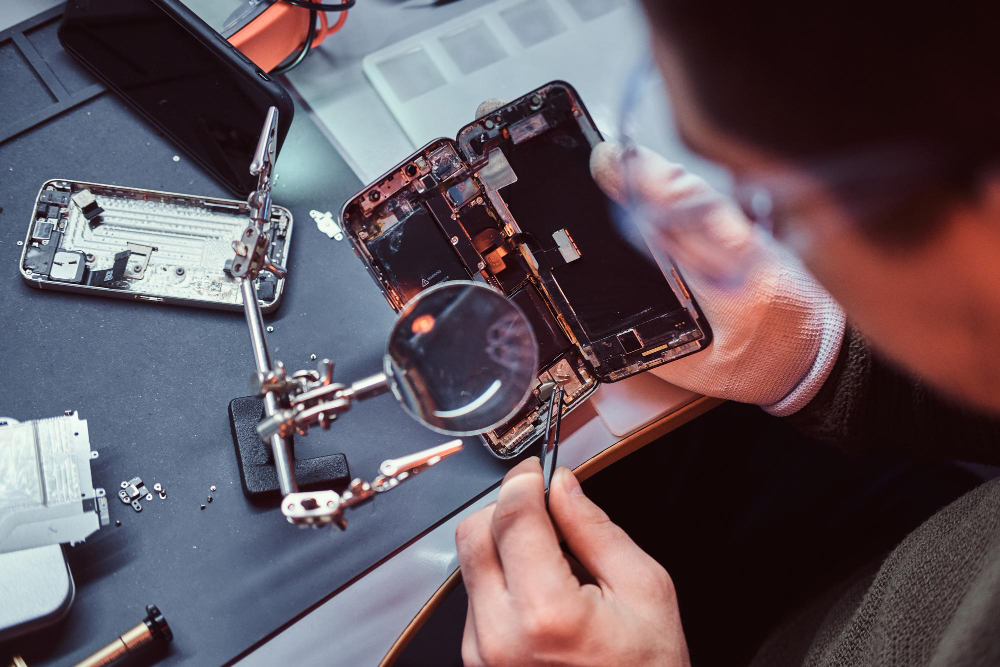
Removing broken glass shards carefully
After successfully heating the cracked screen, the next step is . Prioritize your safety by wearing protective gloves and using a gentle prying tool, such as a plastic spudger, to lift the cracked glass pieces without harming yourself or the device. Work slowly and methodically to avoid accidents and ensure thorough removal. Dispose of the broken glass pieces properly to prevent any injuries. Stay tuned for the following section on effectively cleaning the screen and preparing it for replacement. Remember, patience and attention to detail are key in this DIY repair process.
Cleaning the frame
To effectively clean the frame of your iPhone after removing the cracked screen, it is crucial to use a gentle cleaning solution such as isopropyl alcohol or a mix of water and mild soap. Dampen a microfiber cloth with the cleaning solution and gently wipe the frame to remove any adhesive residue or dirt. Avoid using harsh chemicals that may damage the device. Ensure the frame is completely dry before proceeding with the screen replacement. This step is essential for a smooth installation process and ensuring a secure fit for the new screen. Keep following for our expert tips on replacing the screen like a pro.
Applying a replacement screen
After cleaning the frame, it’s time to apply the replacement screen. Ensure the adhesive is evenly distributed around the edges for a secure fit. You can use pre-cut adhesive strips or a liquid adhesive for a seamless bond. Carefully align the new screen with the frame, pressing down gently to set it in place. Use a soft cloth to apply even pressure, ensuring the adhesive bonds effectively. Allow the adhesive to cure as per the instructions provided with the replacement screen. This step is crucial to prevent any dust or debris from affecting the display quality. Stay tuned for our final tips on troubleshooting and post-repair care.
Reconnecting components and powering on the iPhone
are critical steps to ensure your DIY screen replacement is successful. Carefully reattach any disconnected components, ensuring all connections are secure and in their rightful places. Before turning on your iPhone, double-check that all internal components are properly in place. Once everything is set, power on the device and test the new screen. Look out for any display abnormalities or responsiveness issues. If everything looks good, proceed with the final steps. Stay tuned for our expert tips on troubleshooting common problems and essential post-repair care to prolong the life of your iPhone.
Warning Signs to Seek Professional Help:
While fixing a cracked iPhone screen yourself can be rewarding, there are instances where seeking professional help is necessary. If you notice that your screen is still not functioning properly after replacing it, or if there are unexpected issues like touch sensitivity problems or display glitches, it might be time to call a professional. Additionally, if you lack technical skills or experience in phone repairs, it is best to leave the job to the experts. Knowing when to seek professional help can save you time, money, and the risk of causing further damage to your iPhone. Stay informed and make the best choice for your device.
Cracked screen accompanied by LCD damage (flickering, discoloration)
If your cracked iPhone screen is accompanied by LCD damage such as flickering or discoloration, it is a clear sign that the issue may be more complex than just a surface crack. Attempting to fix this on your own could lead to further complications. In such cases, it is highly recommended to seek the assistance of a professional technician who can accurately diagnose and address the underlying problems with precision. Ignoring these signs and attempting a DIY fix could result in irreversible damage to your device. Remember, it’s always better to be safe than sorry when it comes to the intricate components of your iPhone.
Difficulty using the touchscreen due to cracks
can hinder your overall user experience and productivity. If the cracks are interfering with your ability to navigate the device smoothly, it might be time to consider fixing the screen. However, before diving into the repair process, evaluate the extent of the damage and assess if it’s something you can handle on your own. Minor cracks can be manageable with DIY kits, but extensive damage may require professional assistance. Remember, a non-responsive touchscreen not only impacts usability but can also lead to further complications if left unaddressed. Stay tuned as we delve into practical tips for assessing and addressing touchscreen issues caused by cracked iPhone screens.
Internal damage concerns (due to impact or water exposure)
Internal damage concerns can arise from impact or water exposure when dealing with a cracked iPhone screen. If you suspect any internal issues, such as malfunctioning buttons, distorted display, or irregular performance, it’s crucial to address them promptly. Attempting to fix internal damage without the necessary skill set can further exacerbate the problem. In such cases, seeking professional assistance is recommended to prevent potential risks to your device. Stay informed as we explore the importance of diagnosing internal damage and the best course of action to safeguard your iPhone’s functionality and longevity.
Conclusion:
Taking the necessary steps to assess and address internal damage on your cracked iPhone screen can save you time, money, and headaches down the line. If you notice any signs of internal issues, don’t hesitate to seek professional help. Knowing when to DIY and when to call a pro is essential in ensuring your iPhone’s functionality and longevity. By being proactive and informed, you can make the best decision for the health of your device. Stay tuned for more tips and tricks on maintaining and repairing your tech gadgets. Your iPhone will thank you!
Recap of DIY repair process
Recap of DIY Repair Process: Before embarking on fixing your cracked iPhone screen, ensure to gather all necessary tools and materials, including a screen repair kit and a safe workspace. Remember to power off your iPhone and back up your data before starting the repair. Follow step-by-step guides or video tutorials carefully to avoid causing further damage. Prioritize safety by wearing protective gear, such as gloves and safety glasses, throughout the process. If you encounter any difficulties or uncertainties during the repair, do not hesitate to seek professional assistance to prevent further complications. Your safety and the functionality of your iPhone are of utmost importance. Proceed with caution and care.
Importance of professional help for complex repairs
While fixing minor cracks on your iPhone screen can be manageable with the right tools and guidance, some repairs require advanced technical skills. Complex issues such as damage to internal components or intricate screen malfunctions should be addressed by skilled professionals. Attempting to tackle these without expertise may worsen the problem and jeopardize the functionality of your device. Opting for professional assistance ensures a precise and thorough repair, preserving the integrity of your iPhone. When in doubt about the complexity of the repair needed, seek the expertise of a professional to guarantee a successful outcome.
why consider ifix india for your cracked iphone screen replacement or fix?
iFix India stands out as a reliable option for iPhone screen repairs due to its team of skilled technicians with vast experience in handling a wide range of iPhone issues. By choosing iFix India, you are ensuring that your device is in the hands of professionals who are well-equipped to diagnose and resolve complex problems accurately. Additionally, iFix India uses high-quality replacement parts and follows industry best practices, guaranteeing a top-notch repair job. Trusting iFix India for your cracked iPhone screen repair will not only save you time and effort but also provide you with peace of mind knowing that your device is in expert hands.


About The Author: Raman Ray
More posts by Raman Ray