
Can you work on an iPad with a broken screen? Yes, we still can work, but the text displayed on the screen will be tough to read. Getting your iPhone screen repaired by Apple can be cost-effective, but in the case of a broken iPad Screen where the display is big, it becomes pretty difficult to afford.
Therefore, this is where we can help you out by being cost-effective and also provisioning you with genuine parts. Also, we also repair iPad which are under a year warranty.
Now, let’s look into the options that can be considered if you have a cracked iPad screen.
- Finding out which iPad components are broken
- How to fix your broken iPad screen.
- Figuring out the right tools to fix the iPad Screen.
- Disabling the iPad.
- Reinstalling the new Digitizer.
- Conclusion.
Finding out which iPad components are broken
If only the glass on the screen is shattered and the image is still visible, then it is because the Digi assembly is broken whereas the LCD display is intact.
If you own an older generation iPad then replacing the Digi assembly is enough. However, the new generation iPads have both the display fused, then we have to replace both of them.
How to fix your broken iPad screen
The best way to fix your broken iPad screen is to identify which parts are damaged and which ones can be used.
If you own an iPad 2 or a 3G supported you will need to buy different screens as they will be different in terms of dimensions. The iPad screen comes in two parts that are connected together:
- The Digitizer
- The LCD Screen
This is where everyone gets confused, about whether to buy a digitizer or an LCD Screen. If your touch inputs are not working properly, then just replace the digitizer. Otherwise, you will have to replace both the digitizer and LCD Screen.
Figuring out the right tools to fix the iPad Screen
Once you figure out that the digitizer has to be replaced, then there are a few tools that are required in order to fix it:
- Screwdriver
- Metallic Prying Tool
- Plastic Prying Tools
- iPad Clips Replacement Set
- A Narrow Screwdriver
- Electronic Tape
Disabling the iPad
First of all, we need a metallic prying tool to insert it onto a wedge near the front panel. It will be difficult at first as it will be hard to insert the tool. However, we have to make sure that it does not affect any internal parts.
Now we will have to slightly turn the screwdriver clockwise so that the metal clips are unclipped. Probably starting on the four corners of the iPad should be easy.
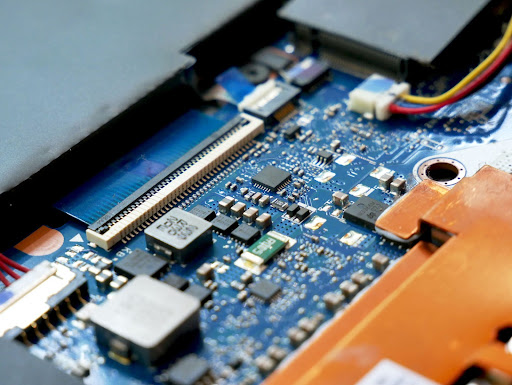
Once the clips are separated, and the front end and the rear end are apart, we will need to remove the eight screws that connect the LCD Screen and the Digitizer. Then, next, we need to take out the electronic tape on the side of the assembly.
Moreover, there is a thin ambient light sensor connector that has to be removed to put it on the new digitizer. This small and thin ambient light sensor connector will be placed near the headphone jack.
Reinstalling the new Digitizer
Well to start, we need to place the digitizer on a flat surface and keep the LCD screen on top of the digitizer where the screws tend to fit in. Then, the clips need to be screwed onto the side of the assembly.
This will fit the front and rear assembly to fit together. Then the ambient light sensor connecter should be placed back to its position with the help of electronic tape. Once the sensor is taped, now put the eight screws back into the frame to secure the LCD with the digitizer.
Now to attach them finally we need to press them at the corners. Once we hear the snap sound it means that the digitizer and the LCD screen are fixed.
Conclusion
As easy it sounds, it is not easy to repair a broken screen on your own. Therefore, we are here to help you by providing you with an iPad Screen replacement in Bangalore.


About The Author:
More posts by