Welcome to the ultimate guide on how to screen record like a pro on your Mac! If you’ve ever wanted to provide engaging lessons, capture epic gaming moments, showcase software features, or simply document important events, screen recording is the perfect tool for the job. Lucky for you, Apple’s macOS comes equipped with built-in screen recording features, making the process a breeze.
In this article, we’ll walk you through the step-by-step process of screen recording on your Mac, exploring both the native macOS options and some fantastic third-party programs that take your recordings to the next level. Whether you’re a casual user or a seasoned pro, you’re about to learn how to capture and share your screen activity effortlessly.
- Using the Built-in Screen Recording Feature in macOS
- Third-Party Screen Recording Applications
- Unparalleled Mac Repairs: Trust iFix India
- FAQs
Method 1: Using the Built-in Screen Recording Feature in macOS
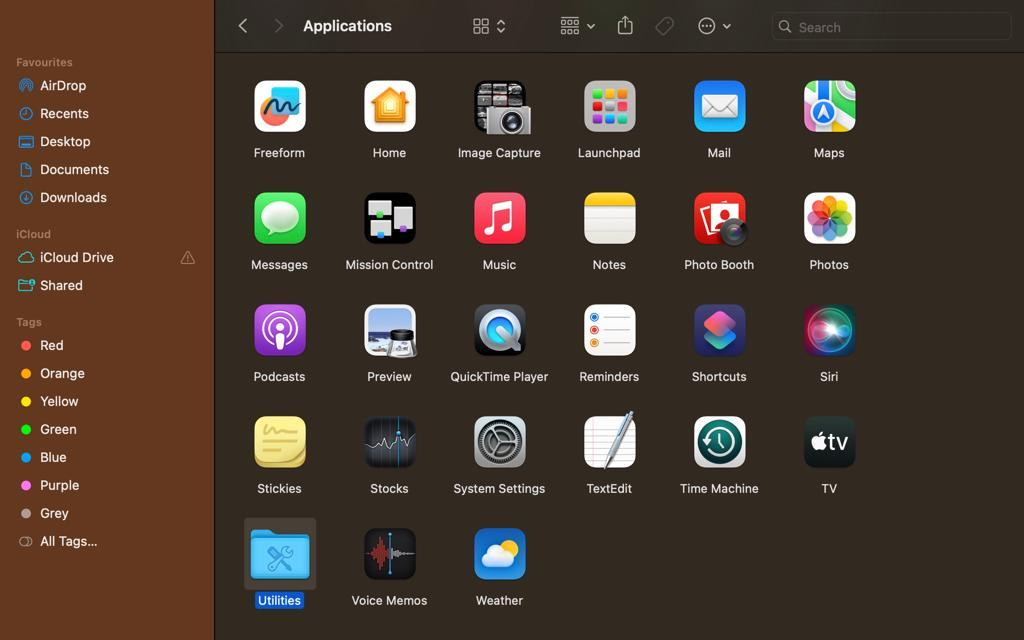
Step 1: Access the Screen Recording Utility
- Open the “Applications” folder.
- Launch the “QuickTime Player” application.
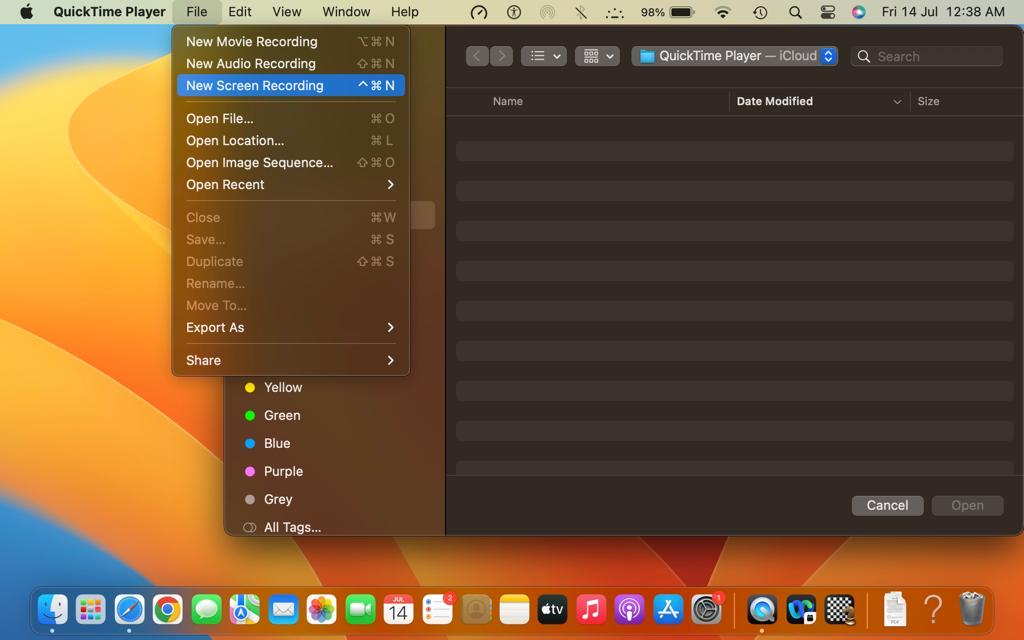
Step 2: Initiate the Screen Recording
- Click on “File” in the menu bar.
- Select “New Screen Recording” from the drop-down menu. Optionally, you can also press “^ + Command + N”.
- A small recording window will appear on your screen.
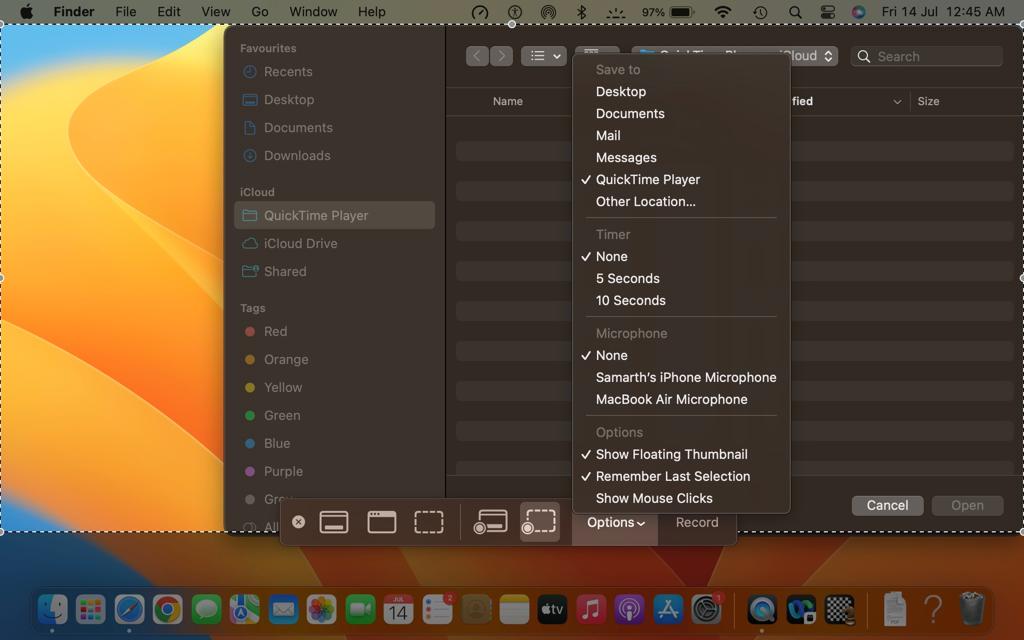
Step 3: Adjust Recording Settings
- Click on the drop-down arrow next to the Options button.
- Choose your preferred microphone input for capturing audio (if needed).
- Optionally, you can select “Show Mouse Clicks” to highlight mouse clicks during the
recording. - Additionally, you can also choose the download location for your screen recording.
Step 4: Start and Stop Recording
- To start screen recording, click on record.
- To finish recording, click on the stop button in the menu bar or press “Command +
Control + Esc” on your keyboard.
Step 5: Save and Export the Recording
- After stopping the recording, a preview window will open.
- To save the recording, click on “File” in the menu bar and choose “Save” or press
“Command + S.”
Pros
- Free Tool – The screen recording feature is already installed on your Mac, so you don’t have to download any additional paid software for screen recording.
- Customizable – Whether it is the size of your frame, the choice of audio inputs, or choosing to whether or not you want to show your mouse clicks, your Mac’s screen recording feature has it all.
Cons
- Limited Features – While it is convenient to use, the screen recording feature on your Mac is a pretty basic one. If you want a lot of advanced editing options, this tool won’t cut it.
- No Scheduling – You can only manually start or stop the recording. There is no option for scheduling a screen recording in advance.
Method 2: Third-Party Screen Recording Applications
Several third-party programmes offer expanded features and more settings for screen recording in addition to the default macOS screen recording feature. Here are two well-liked choices:
OBS Studio: A free and open-source screen recording and streaming programme called OBS Studio. It is appropriate for both casual and professional users because to its extensive feature set
and customization possibilities.
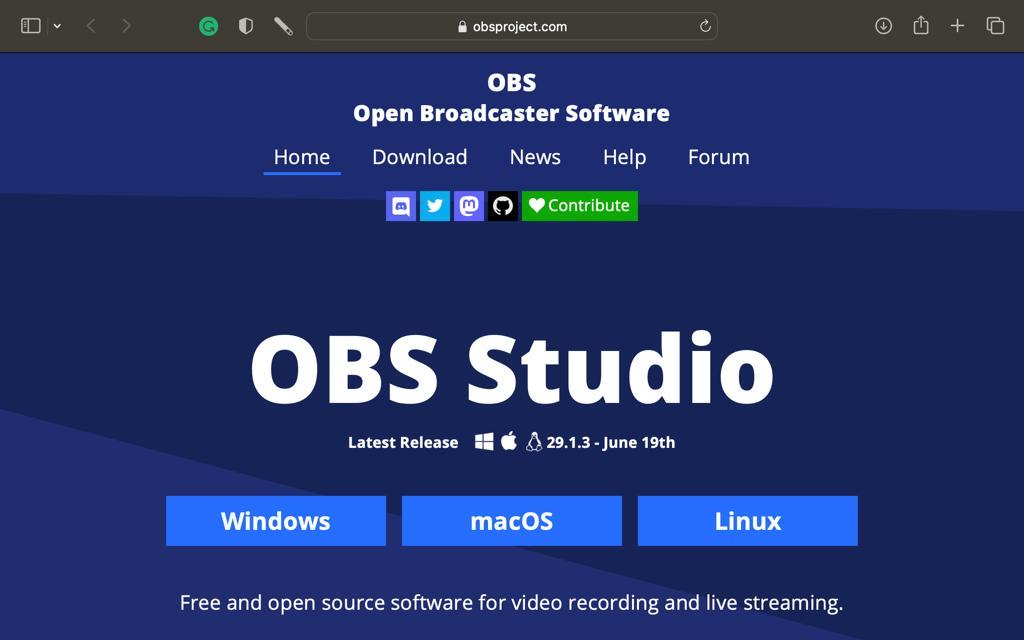
- Download OBS Studio from the official website (https://obsproject.com).
- Install and launch the application.
- Configure your recording settings, including video and audio inputs.
- Start and stop the recording using the controls in the OBS Studio interface.
- Save or export your recordings in various formats.
ScreenFlow: A high-end screen recording and video editing application made exclusively for macOS is called ScreenFlow. Its strong editing skills make it the perfect option for producing screencasts with a polished appearance.
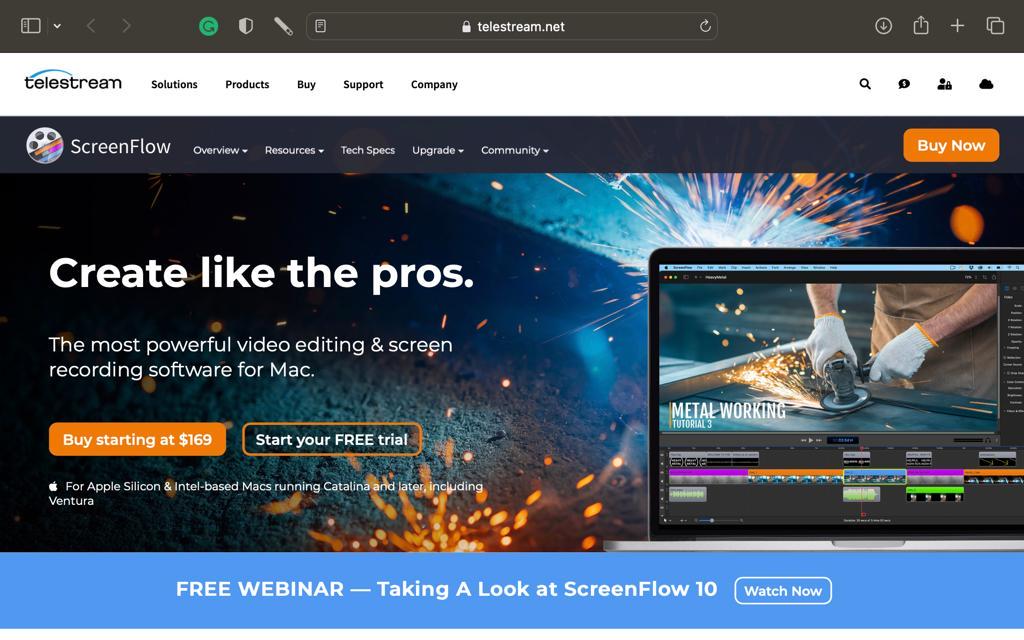
- Purchase and download ScreenFlow from the official website (https://www.telestream.net/screenflow).
- Install and launch the application.
- Customize your recording settings, including audio sources and video quality.
- Begin and end your recording using the controls in the ScreenFlow interface.
- Edit and enhance your recording using the built-in editing features.
- Save or export your recording in different formats and resolutions.
The native screen recording capability in macOS or third-party software designed to meet certain needs can be used to record the screen on a Mac. The procedure of screen recording is simple and practical, regardless of whether you like the sophisticated capabilities of third-party software or the built-in tool’s simplicity. Find the application that best meets your needs by experimenting with a variety of them, then enjoy easily recording and sharing your screen activity.
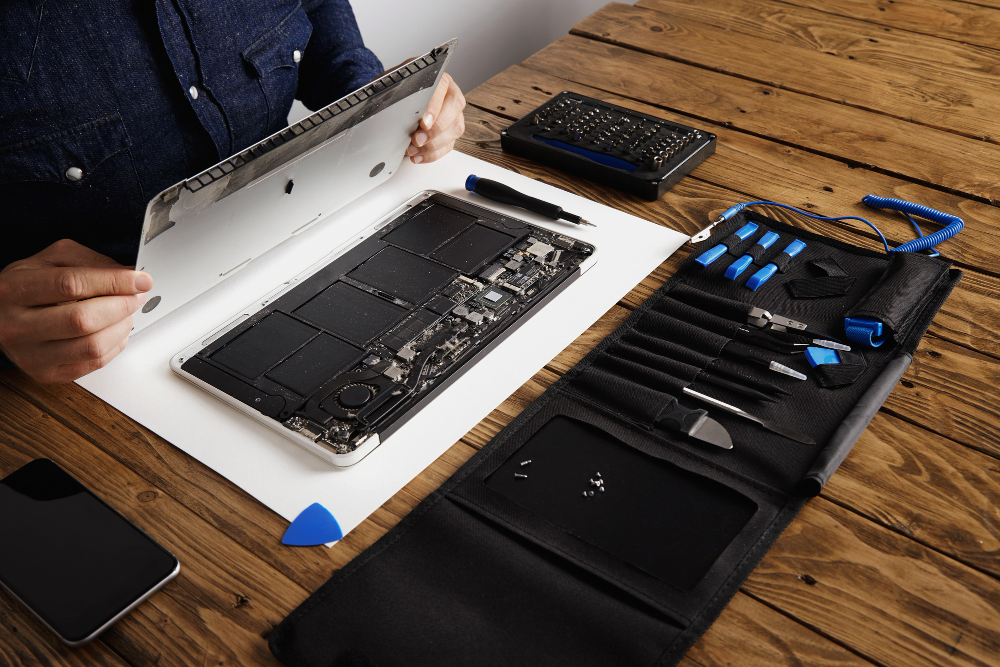
Unparalleled Mac Repairs: Trust iFix India
Mac users, we understand the struggles you go through when your device hits a snag. iFix India stands out as a top service provider when it comes to entrusting your priceless Mac devices for repairs. Our crew provides thorough repair services and is knowledgeable about the particular complexities of Mac devices. Whether you’re dealing with hardware problems, software problems, or even water damage, our highly qualified specialists have the skills and expertise to quickly identify and resolve the issue.
Our professionalism and attention to detail ensure that your Mac device is repaired to the highest standard, allowing you to get back to your work or entertainment without missing a beat.
Don’t accept anything less than the best the next time you run into a Mac issue. For dependable and effective Mac repairs that will give your device new life, pick iFix India. Discover the benefits of dealing with a reputable service provider who genuinely comprehends the requirements of Mac customers.
FAQs
Can I record the entire screen or just a specific portion?
With the built-in screen recording feature in macOS, you can choose to record either the entire screen or a specific portion by adjusting the recording window. Third-party applications like OBS Studio and ScreenFlow also provide options to capture the entire screen or select specific areas.
Can I record audio along with the screen recording?
Yes, you can record audio along with your screen recording. In macOS, you can select the microphone input source during the screen recording setup. Third-party applications also offer audio recording options, allowing you to capture microphone and system audio simultaneously.
Can I highlight mouse clicks during the screen recording?
Yes, macOS offers the option to show mouse clicks during screen recordings. When setting up the screen recording, you can enable the “Show Mouse Clicks in Recording” option.
Can I edit my screen recordings after capturing them?
While the native screen recording feature in macOS does not provide built-in editing capabilities, third-party applications like OBS Studio and ScreenFlow offer editing functionalities. You can trim, cut, add annotations, overlays, and even incorporate additional media to enhance your screen recordings.
Can I record screens on multiple displays?
Yes, both the native macOS screen recording feature and third-party applications typically support recording screens on multiple displays. You can choose to record all connected displays or select specific screens for recording, depending on your requirements.
Is there a time limit for screen recordings?
The built-in screen recording feature in macOS does not have a time limit for recording. Some third-party applications may have limitations based on the specific software, but they often allow for lengthy recordings as well.
Can I record screens on older versions of macOS?
The availability and functionality of screen recording may vary depending on the macOS
version. However, screen recording features have been present in macOS for several years, so
older versions should generally support screen recording. It is recommended to check the
specific documentation or support resources related to your macOS version for more accurate
information.

About The Author: Raman Ray
More posts by Raman Ray